By tetsujin on 2023-11-06 in Models | 3 Comments
Tags: 1:220 Zaku Kai
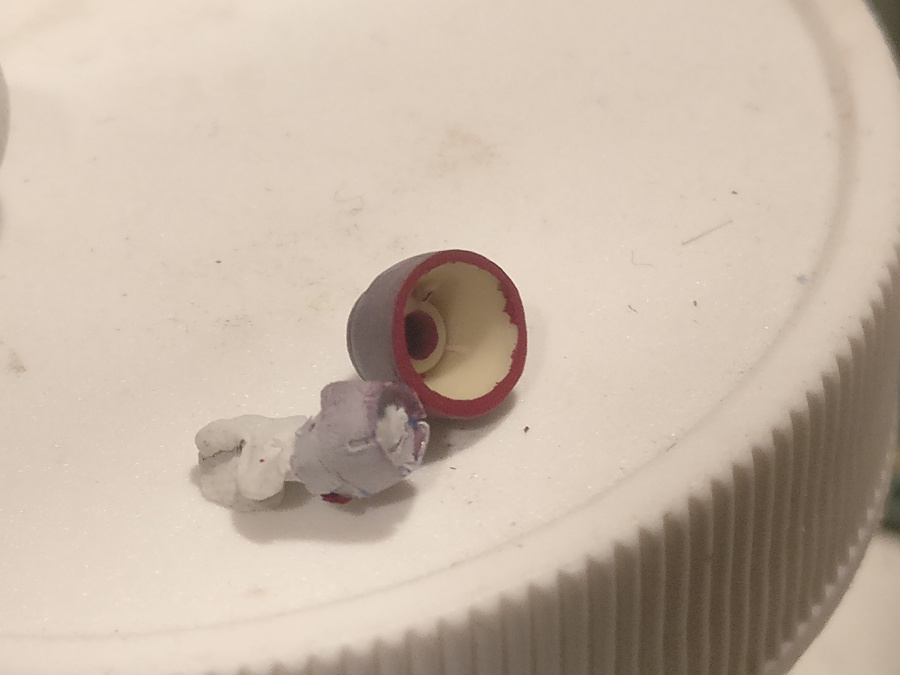
I’ve been continuing work on the 1:220 scale Zaku FZ build, trying to finish it up in time for SCGMC. As the remaining time began to dwindle, the project became increasingly rushed, until finally it came down to one last day before my departure. Ultimately, a critical error from earlier in the build convinced me that I couldn’t hope to finish the project in time for the show.


Read the rest
By tetsujin on 2023-10-24 in Models | 0 Comments
Tags: 1:220 Zaku Kai
Every year when SCGMC approaches I have all kinds of grand plans. This year, with the contest theme being of particular interest to me, I had all kinds of ideas, giant resin-printed monstrosities, quirky, comedic builds, and of course my scratchbuilt Zaku FZ. And every year so far I’ve had to drastically scale back those plans, to the point that I might not get anything ready in time for the show at all. Last year, at least, I had a model on the table. This time around, I crunched the numbers and about a month ago came to the conclusion that I wouldn’t be able to get my scratch build ready in time for the show. That’s tough, but that’s just how it goes sometime. After that point I switched to working on another project. I’d been aiming to have something really outstanding, something worth entering into the “experts” category, but at this point, this kit is probably all I’ll have to show. Still, while it’s not what I’d hoped for, I’m going to do my best to make it a worthy entry.


Read the rest
By tetsujin on 2023-09-20 in Models | 3 Comments
Tags: 1:100 Zaku Kai, scratchbuilding
The time remaining before SCGMC is diminishing, and I’m sorry to say it’s not looking good for this project at this point. The upshot is I’m getting organized, focusing on setting a pace that can yield success for the project and working hard to get parts finished. At this point I want to spend more time, maybe another week, working on the project, see how much progress I can make relative to the amount of work still left to be done, and then make my decision whether to continue, or find some other project I can get ready for SCGMC.


Read the rest
By tetsujin on 2023-09-09 in Models | 0 Comments
Tags: 1:100 Zaku Kai, scratchbuilding
It has been pretty rough of late trying to get motivated to work on my projects for SCGMC. Most of this year my engagement with the hobby has been spotty at best. Early in the year my plan was to start things off with a number of small, quick projects starting with the Zakus in January, but the project dragged into mid February and I started to lose patience with it. I’ve started a few other projects, like the YF-19s when the Bandai kit came out, or the Strike Valkyrie in the summer, but I’ve found it tough to stay engaged and keep moving forward with them. I had planned to do another 100 day project for the Zaku Kai, leading up to SCGMC in November, but all through August I found it very difficult just to sit down and work on it with any kind of consistency.
At this point, 100 days has already diminished to fewer than 70, about 9 weeks. It’s frustrating, but the best thing I can do now is try to make the most of that time. It stinks to have lost a whole month (to say nothing of the prior months) but 9 weeks is still a significant amount of time if I use it right. I estimate that in the 100 day project last year I only actualy used about half, around 45-50, and in that time I moved mountains, accomplished more on this project than I had in years, maybe more than all the prior work on the project put together. I also got a lot better at making my efforts count, how to work effectively and not get hung up on perfectionist tendencies. The upshot is that I think I’m finally getting my head in the game again and making steady progress.

Read the rest
By tetsujin on 2023-06-16 in Models | 2 Comments
Tags: 1:72 Strike Battroid
A long time ago I build the Hasegawa VF-1 Battroid, a mecha kit so well-proportioned and nicely detailed that, at the time, I dubbed it “the greatest injection-molded mecha kit of all time, space, and alternate dimensions”. These days there are maybe a few other kits I’d rate higher, but it’s still one of my all-time favorite kits. Earlier this month I was trying to decide what to work on at my model club meeting and I decided it was time to build another one, this time the “Strike” version with added fuel tanks, missiles, etc. With SCGMC only a few months away I’m a bit worried that I haven’t got more done already, but this is a project I’d be really happy to have there.

Read the rest
By tetsujin on 2023-01-28 in Models | 10 Comments
Tags: 144 Zaku Project, FG Zaku, Revive Zaku
With SCGMC 2022 behind me, I have a whole new year of model projects to look forward to. SCGMC2023 is coming up and this time really for sure the Zaku Kai is gonna be done. I have other projects in mind for the show as well… Plus Anime Boston is coming up and I need to be ready for my usual panel there… But right now I want to take a bit of time and work on some simpler projects. I only just barely managed to get a single model ready for SCGMC 2022, the good bit there is I did it, I had something to show, and it got me motivated to really work on my workspace and my airbrush setup. But I want to make painting more of a regular occurrence. I want to make finishing models more of a regular occurrence. So I decided to do some more Zakus, the 2021 version of the HG Zaku, and the First Grade Zaku from 1999.


Read the rest
By tetsujin on 2022-11-17 in Models | 4 Comments
This past weekend I attended SCGMC – I think this was my 6th time attending. Presently it is the only model show I attend other than the local ones and so a lot of my efforts in the hobby on any given year culminate in what I have ready to show (or not) at SCGMC, if I’m attending.

Read the rest
By tetsujin on 2022-08-31 in Models | 0 Comments
Tags: 1:100 Zaku Kai, SCGMC, scratchbuilding
Earlier this year I did a “100 day challenge” to work on my Zaku Kai project: The idea of the challenge was to work on the project every day for 100 days. It was a great experience in a lot of ways, but by the end of it I was ready to take a break. Now with SCGMC looming, I’m returning to the project with the aim of having it done in time for the show.


Read the rest
By tetsujin on 2022-05-23 in Models | 0 Comments
Tags: 1:100 Zaku Kai, 100 Day Challenge, scratchbuilding
I haven’t made much progress or posted any updates in the final 10 days of the challenge – until this one at least. I did some more work on mounting polycaps in the upper leg and, in recognition of the end of the 100 day challenge, I put together as much of the model as I could and took some photos – not an easy thing at this stage since a lot of important joints and structures aren’t built yet (like the waist-to-hips connection, the ankle joint, etc.) and I haven’t made enough headway with the right leg to include it at this time.

Read the rest