Slain by Skill Issue (5 days until SCGMC)
By tetsujin on 2023-11-06 in Models
Tags: 1:220 Zaku Kai
I’ve been continuing work on the 1:220 scale Zaku FZ build, trying to finish it up in time for SCGMC. As the remaining time began to dwindle, the project became increasingly rushed, until finally it came down to one last day before my departure. Ultimately, a critical error from earlier in the build convinced me that I couldn’t hope to finish the project in time for the show.

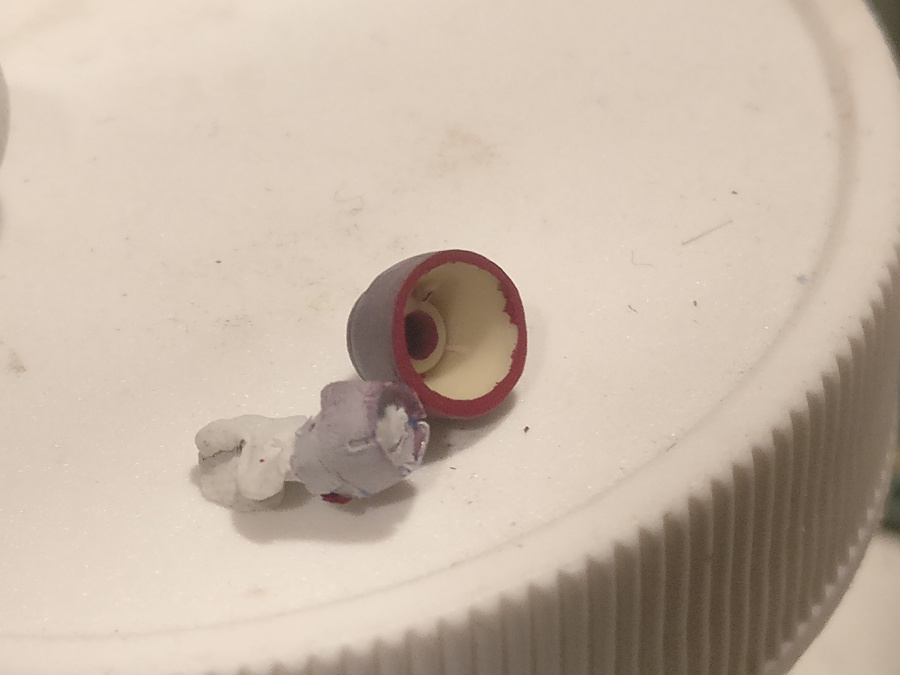

Having previously drilled out a monoeye and installed a LED, I created a series of wiring channels through the body and down the left leg. The plan for this build was to have a battery pack in the base, with the model permanently installed on the base and wired to the pack.


Of course the eye LED wouldn’t be much good without a battery. I’d been putting off working on the display base for some time. It’s not a super-easy task, especially because I lack the proper tools to make a hole in the base to put that battery pack in. In the past I’ve started with the drill to open up the space a little, then proceeded to cut out additional material to make the cavity. Really I should just get a router. I kind of screwed up here, too: I pushed the drill down too far and punched straight through the wooden plaque, and in a bad location. This was on a wooden plaque that I’d already spent a fair amount of time sanding to make it look nice… Into the garbage with that one. I started again on a second plaque. Due to the setback I had to accept that I wasn’t going to have time to sand the new plaque, and thus staining it and urethaneing it would be a waste as well. Compromises creep in when you’re out of time. I completed the second plaque, but because I made the cavity by cutting clear through the plaque, I’d have to find the circle cutter and top the plaque with a styrene plate or something. I’d already given up on making scenery…


I was very anxious to get started with the painting process because I knew it was going to be a bit involved. My initial plan was to allow for several days of different masking and painting passes but as time ran out this is one part of the process that got very crunched. My workspace still isn’t set up very well and lately it’s been overwhelmed by too much stuff. As a result it took me a while to get the parts and the workspace ready to actually do painting again.


When I first got this kit, I thought it didn’t really have pinholes, but as I began priming it, they started to turn up. When resin parts are made, they’re liquid that’s poured into a rubber mold. The liquid hardens and you get your part. But the liquid can have air bubbles trapped inside it, these can turn up as little pinholes in the surface. However the pinhole at the surface is just the opening to a larger cavity underneath, so usually they must be cut open and then filled.


From there I moved on to another task I’d been neglecting: color choice. I’ve done a few projects in Zaku FZ-ish colors, and I vary the specific color choices from time to time trying to find a color choice I like. Interestingly I also found a set of color cups from one of these prior projects. This surprised me a bit since the last project I did using these colors was around 4 years ago, I think. I expected the color cups from that project to be dried up or lost or something. This time, however, I decided to go for more yellowish colors. Mixing yellow paint with a bit of black makes a good, hearty olive green color, so I did a few variations of that for light and dark parts of the armor. It’s like the colors I always imagine on the Zaku FZ, even though the actual color scheme is much more greenish in hue.


Now, unfortunately, the deal-breaker. As you may recall, in the prior post I soaked the kit parts in automotive degreaser to remove residues from the molding process. Turns out it wasn’t enough. Pretty early on in the painting process I found that there were areas where the first layer would just flake off and fly away when I tried to paint a second layer. I removed the failed paint layers and tried again, hoping that a successive paint layer would fare better. They really didn’t, and I kept encountering problems. Sometimes I’d see the telltale wrinkle from a prior paint layer that was detaching, sometimes I’d try masking something, only to find all the paint I’d covered up simply came away when the masking material was removed. By the time I was down to my last day to work on this project before leaving for California I thought, maybe if I crunched for a bit, I might be able to get it ready enough that I could show it… But when it became clear that this adhesion problem wasn’t going away, I knew it was over, and it was just a matter of learning to accept it. It kind of stinks, I hate planning a whole year of hobby goals around the one big model show I travel out to, only to wind up going there with nothing new, nothing at all completed in the last year to show, particularly this year when the theme is very much of interest to me… but here we are again.


There’s only one real solution here: strip the parts and repeat the degreaser bath, but do it right this time. Scrub the parts. Toss em in the ultrasonic… And then start all over again with the painting process. Not a fun prospect, but the bigger issue is there’s just no more time for it. We’ll still have a fun trip, but it sucks going to the show empty-handed. I wanted to turn up there with some amazing stuff, best foot forward, and instead I have nothing. Again. It stinks.
Hey Tetsujin, how are things going?
John | 2024-03-31 | Reply
Could be better. Haven’t got a whole lot done hobby-wise in the last few months, hard to keep motivated, and generally speaking goals feel unreachable. Just had an anime con as well and wasn’t really able to get involved or show my work as I’d hoped, so that’s kind of a drag. Been meaning to at least post my SCGMC photos and then some updates on some things I’ve been working on, but it’s a lot of photos to sort through. Kind of late now anyway.
tetsujin | 2024-03-31 | Reply
It happens to everyone. I don’t think anyone would mind if you take your time.
John | 2024-03-31 | Reply