Hakuheisen updates and preview
By tetsujin on 2009-10-17 in Models
Tags: 1:72 Armored Core CR-C75 "Hakuheisen"
I have a day left before Granitecon and still lots to do to get this project ready… The good news is that the basic painting is done. There’s touch-ups and paint chipping and washes and weathering to be done, but all the basic colors are on, and where they should be.
After the last post I decided I wasn’t happy with the paint job on the parts I’d painted and paint-chipped. Certain parts were paint-chipped too extensively, some parts had cracking paint – so I wound up stripping those parts and starting over. This set me back quite a bit, of course… Around the same time I started painting individual colors on certain multi-color parts – mostly I wound up masking and painting the different colors in a very non-optimal order… In a lot of cases what I was going for was to minimize the number of layers of paint I’d put on an area so the paint-chipping later would work well… So I tried to avoid painting a whole part one color just so I could mask off a little area of the part later and paint the rest another color…


After stripping the parts and repainting them, a few problems cropped up. First, the shin part broke.. again… If you ever build an AC with the Crest LH-80 legs you should know this is something to look out for. I’ve got three sets of Kotobukiya LH-80 leg parts, and all three have broken in roughly the same fashion… It’s just a very fragile part, you’ve got to be careful with it and reinforce it. Repair was a bit difficult this time because the break wasn’t complete, and I didn’t want to break the thing completely apart to re-set it with solvent glue or CA… But trying to repair the part without breaking it further first made it difficult to get glue where it needed to go, and get the part straight while the glue set…
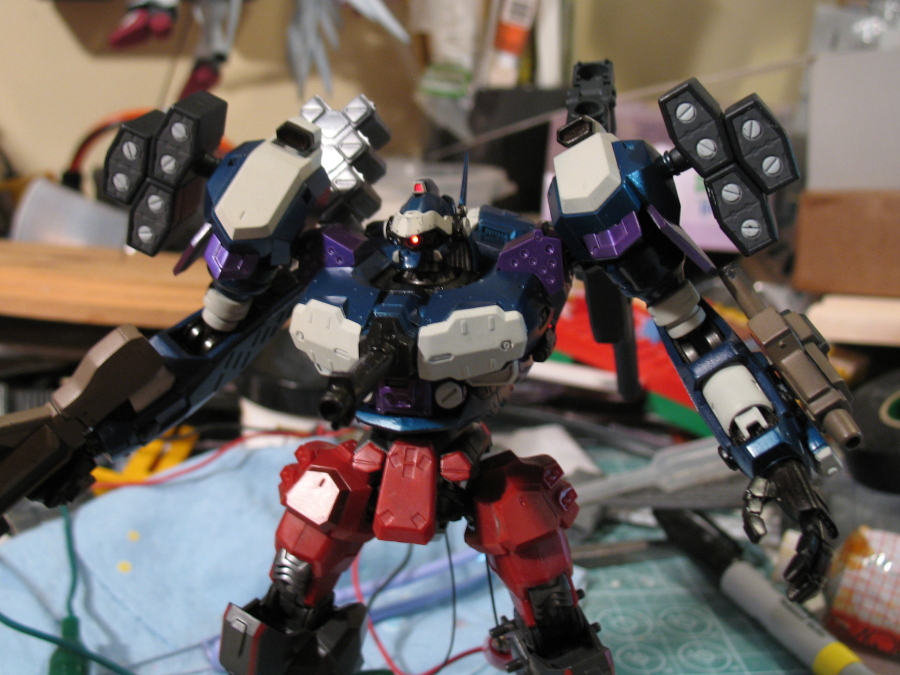
As I said before, I’ve painted up everything at this point – but none of the weathering has happened yet. The color scheme was as follows:
- White parts were painted with a mixture of deck tan and white
- Blue parts were painted “royal blue”
- Purple parts were painted “grape pearl”
- Mechanical parts were painted black (the paint-chipping will give them a more metallic look…
- The cannon was painted Sea Blue (I’d swear this color is actually more of a green than a blue…)
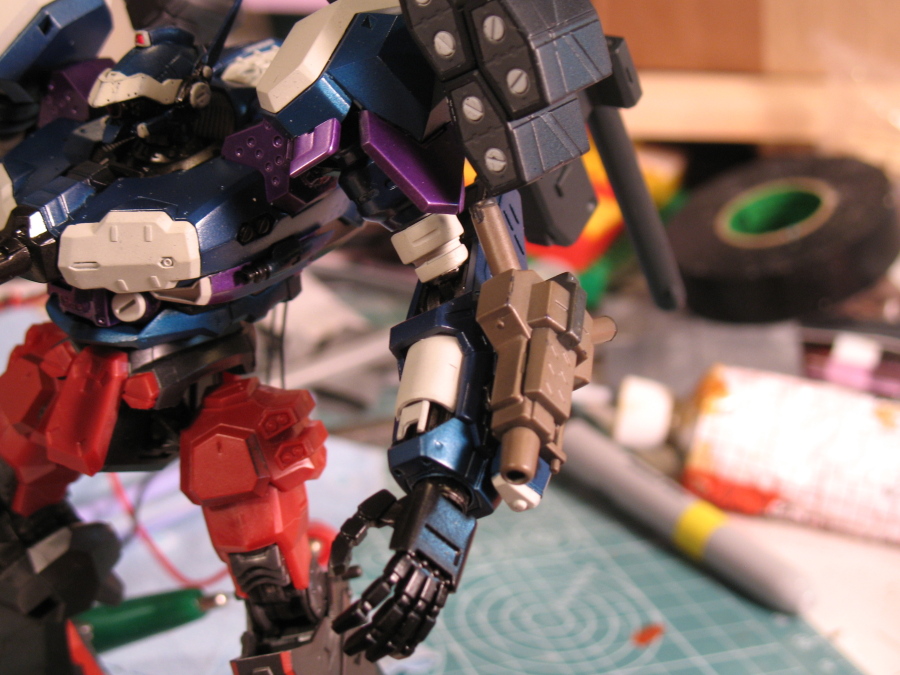
- The missile launcher was painted “dark” sea gray (two different manufacturers’ versions of the color – thus two shades to distinguish the missile doors from the rest of the launcher)
- The rifle and laser blade were painted in a custom brown mix with darker areas painted in with… German Grey I think?
- The interceptor warheads were painted white – the front face of the interceptor unit was German Grey, and the walls of the interceptors were painted a mixture of blue and black. (Early on I also painted some white stripes on the interceptor units – but I didn’t like the look so I got rid of them.)
The color scheme was largely an effort to replicate the look of the machine in the CG opening to Armored Core 3 – but I also wanted the colors to reinforce the idea that some of these parts (the weapons, mainly) weren’t fully integrated into the color scheme of the unit, or each other. I figure the pilot could’ve bought the missile launcher one week, the grenade launcher another – may or may not have repainted them, etc… So it didn’t seem as though the colors of the interceptor units, missile launcher, and cannon should match. (The laser blade and rifle, however, do…)
I don’t know yet exactly how well the color choices will work out. Some of the final effect is going to depend pretty heavily on the paint chipping and other effects that go on later. As it is I’d say the grape pearl is possibly a bit much, and the royal blue may be too far into the violet range for this machine – but I enjoy seeing the parts in their proper context (i.e. assembled) finally… I haven’t put the legs back together yet, so for now they’re borrowing Nine Ball’s legs. I think my color choices have worked out pretty well – the grape pearl almost seems like it might be too vibrant, but I think it’s pretty…
Note the broken shin part on the Nine Ball legs. I told you, didn’t I? Those damn LH-80 shin parts are prone to breakage…


Oh, ran into a real fun problem when putting everything back together – some things wouldn’t fit. In particular, the little hexagon-shaped inset detail bits on either side of the chest… I carved off the paint from the offending surfaces to get the part in – and still on one side, the chest block wound up cracking on its seam when I put the part back in… I wound up having to use super-glue to hide the crack, and then I spot-painted the area with royal blue (skipping the Alclad undercoating…)
And speaking of trouble, my compressor’s died on me. The thing can’t get up to pressure. I think the tank’s leaking. I’ve used this compressor for eight years now, it might just be time for a new one… For now, though, that leaves me in an awkward spot. I still have to gloss coat this model, and then dull-coat it later. As it stands I can spray at about 10 PSI if I run the compressor constantly while working (it’s not designed for 100% duty cycle, it’s designed to fill the tank and then take a rest…) – I’m afraid the compressor won’t be able to handle that. So I haven’t figured out yet if I’m going to get a new compressor so I can use it on the last day before Granitecon, or if I’m going to try and limp along with my dying Campbell-Hausfield…
There’s always something that gets messed up in the last minute. Good luck man. I hope you finish it on time.
J.E.さん | 2009-10-18 | Reply
I managed to get a certain level of the edge-wear effect going, then gloss it, do a shitty wash, and then flat-coat it… So it was on display with the eye lit (somewhat dimly, due to the tiny batteries) but I don’t really consider it “finished”…
tetsujin | 2009-10-19 | Reply