Hakuheisen Update
By tetsujin on 2009-07-30 in Armored Core Group Build, Models
Tags: 1:72 Armored Core CR-C75 "Hakuheisen"
I had been trying to finish this up for Otakon in mid-July but that didn’t work out… When I first resumed work on the project there was more that needed to be done than I had thought: the planned wiring was unfinished, some parts hadn’t been sanded or even glued, and so on. In the weeks leading up to Otakon I was almost able to get the model ready for paint: with a few days left before the convention I decided I wasn’t going to be able to hit the deadline.
Now, with the convention behind me, I’ve resumed work on the project. At this point I’m returning to aspects of the project I’d had to skip in my attempt to hit the Otakon deadline and setting up the kit parts for painting.


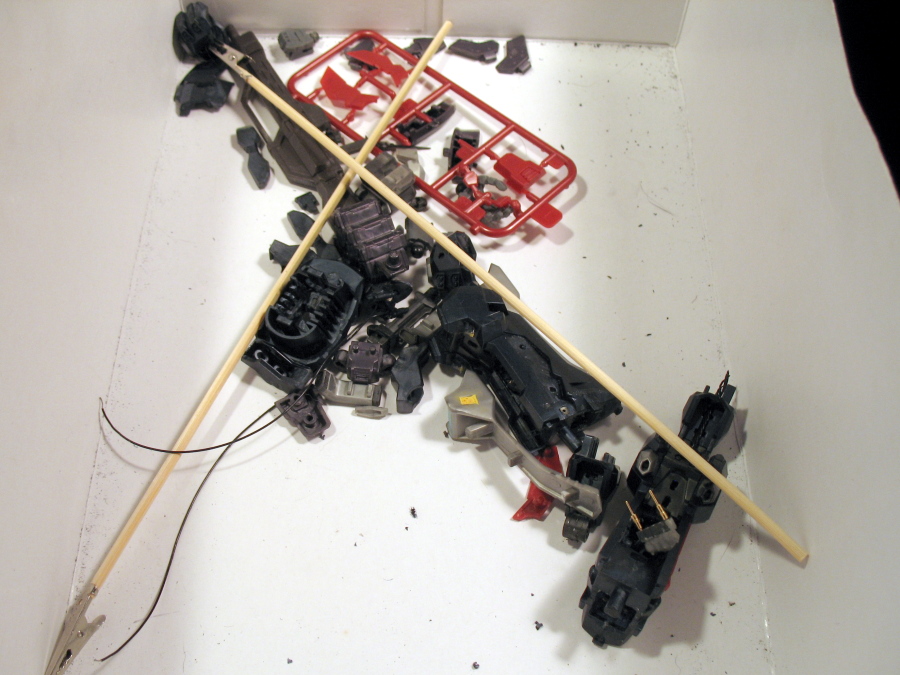
Parts
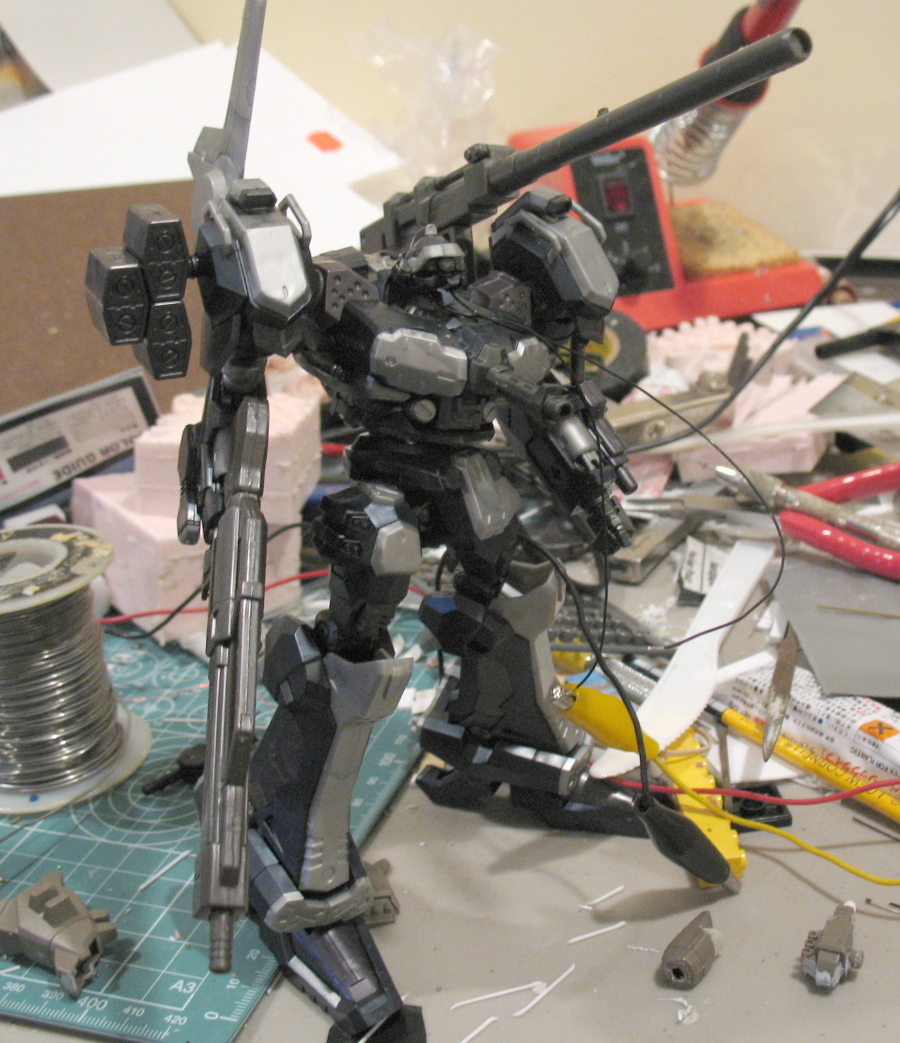
Although a few parts are still undergoing work, most are ready for paint. Armored Core kits have lots of small detail parts to them: one can either glue these in their final location early, and then mask and paint the detail areas, or keep the detail parts separate and risk losing them before final assembly… I have kept most of the detail parts separate to simplify the painting process.


Detail Part Separation
Early in the course of the project there were some detail parts I’d permanently attached in order to reduce the overall parts count – but at this point on the project I’ve decided that I’d rather reduce the number of parts that need masking even if that means a few more separate parts to deal with in the mean time. To remove the gray part in the area of the AC’s neck, I drilled a hole through the core from underneath and pushed the neck area part out from below. To remove the gray detail bits on the sides of the core, I drilled holes in the shoulder area of the core (where they will be covered up by the shoulder joints) and pushed the parts out from behind. Removing the plates on the sides of the lower legs was the hardest problem: these parts had been glued in quite securely, I needed to destroy them in the process of removing them to get them out, and then redrill the snap-fit holes. Fortunately, the Nine Ball kit included an extra set of these parts due to a color molding issue.


Leg Detail
Armored Core kits tend to be quite good about properly representing the complex detail of the original designs: however, if you look carefully there are places where bits of detail wound up distorted, or with obvious draft angle problems. I’ve corrected a couple such problems including these visible on the lower legs.


Leg Wiring
This model will feature lights in the head, in the back-mounted thrusters and in the leg-mounted thrusters. Furthermore, the operation of these lights will be controlled by a microcontroller to be placed in the model’s belly. When the lighting circuit is complete I’ll be able to connect to a port installed in the ankle to provide power to the lights and to send instructions to the microcontroller. The microcontroller board still isn’t ready, nor is the software – but in the mean time the model is being prepared to support it. What this means at this point is that a bundle of five wires must be run from each lower leg up to the hips – and from there into the belly. Arranging a safe route for all those wires was a bit of a challenge.


At this point one of the two upper legs still needs some work done on its wire channel, and there’s a few other details to attend to, like adding recessed rectangular details to the backs of the hands (this detail is present on the stock kit hands, but I am using aftermarket hands by Kotobukiya) – and there’s more work to be done repairing the detail plates on the lower legs… From there, I think the kit could use a scrub to make sure all the parts are free of dust and oil and then I can get started painting.
Post a Comment