Zaku wiring, etc.
By tetsujin on 2009-02-03 in Models
Tags: 1_100_Zaku_V2
One thing about wiring a model – these wires always seem to have a way of breaking. It’s really annoying.
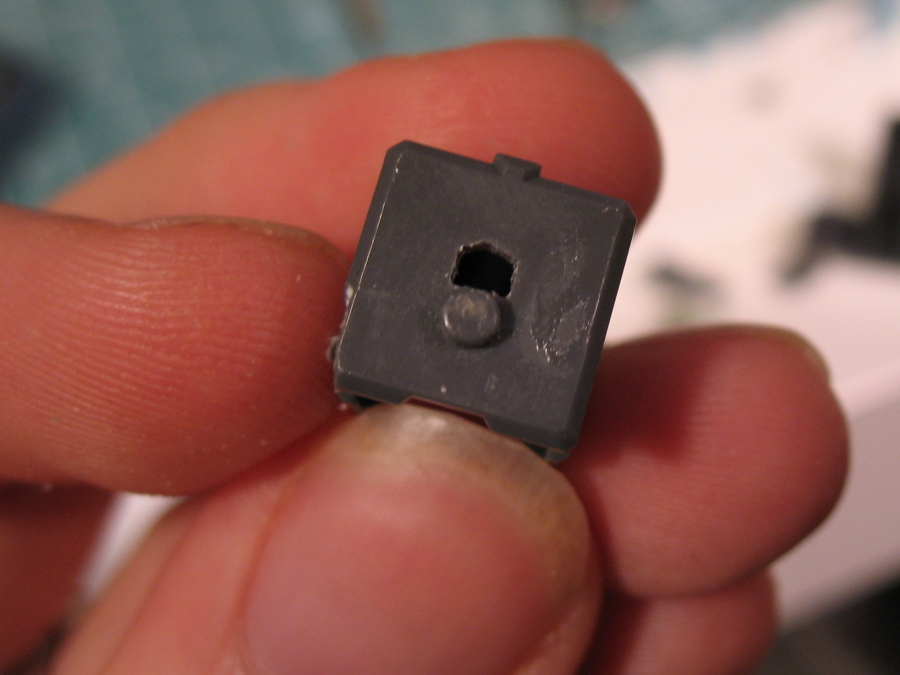
Anyway, after I set up the LED for the monoeye I decided to go a step further and light the cockpit as well. The cockpit on this kit isn’t much to look at, but it’ll look decent when it’s painted up – and having a light in there is the only way anybody’s ever gonna see it.
To power the whole thing I scrounged up a battery holder – a 1/3 N cell holder. Mysteriously, although an N cell is 1.5V, the 1/3 N cell I had is a 3V battery… I’m not sure why. It was running low and I didn’t know where to get a replacement, so I used two #357 batteries instead – they fit the holder perfectly.
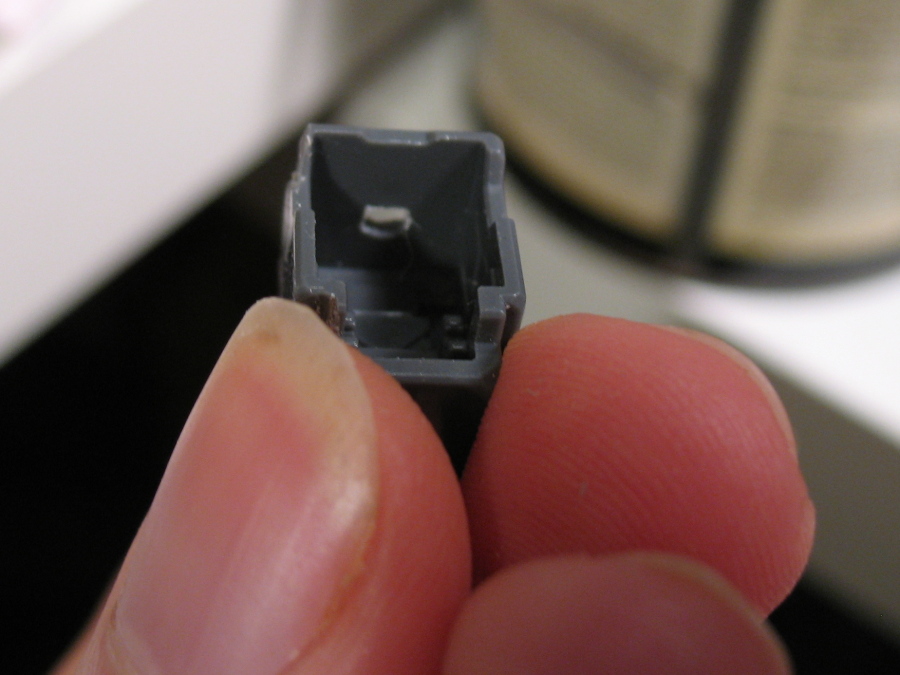
The battery holder and the wiring occupy the central chest cavity – I got rid of the sliding cockpit gimmick (the cockpit is now permanently on the Zaku’s right – though I may switch it to the left for various reasons…) – I also got rid of all that stuff that’s hidden beneath the backpack – so when the backpack is removed there’s a big rectangular hole that opens up to the cockpit area in the front of the chest. The battery holder takes up most of that space.
I did a lighting test – mostly to make sure that I’d be able to make the final connections and stuff all the wiring back into the chest block and put everything together again, and still have the lights work. There’s no provision for turning the lights off – if I want to do that, I’ve got to take the backpack off and remove the batteries. The lens that will go at the front of the monoeye is not installed yet – it’s going to have to be glued on (or rather, attached with Future or something) so putting it in there now is very fiddly.
I’ve been doing a few other little mods here and there as well: I’ve put minus molds on almost all the little recessed circle details, I modified the upper arms so I could glue-assemble them but still remove them from the inner frame for painting, and I was really unhappy with the panel lines on the lower legs so I’m getting rid of them. I am sorely tempted to alter the spiked shoulder armor as well – tweak the position of those spikes to hopefully make the thing look nicer. I am trying to keep this project simple, however.


Post a Comment