All work and no play makes Jack a dull boy.
By tetsujin on 2013-11-02 in Models
Tags: 1:100 Rick Dias
Once my plan to complete the MG Rick Dias in a week for Patcon fell through, I started aiming for Granitecon, roughly a month later. For various reasons, I lost a lot of my potential work-time leading in to the event, and again fought down to the wire trying to complete the project for a show. It was at this point that I got the first coats of primers on the parts, and various mistakes from earlier in the project came back to haunt me. These posed various challenges, but none worse than the seams on the legs, which for some reason have given me a world of trouble.

Pretty much the first thing that happened as I was gearing up for the painting process was, I had this bright idea that I’d remove the gun barrels for the Vulcan Phalanx from the head so I could paint them separately. Unfortunately I wound up breaking the part of the head that the Vulcan Phalanx clips into. Damnit. Moral of this story: don’t do this!

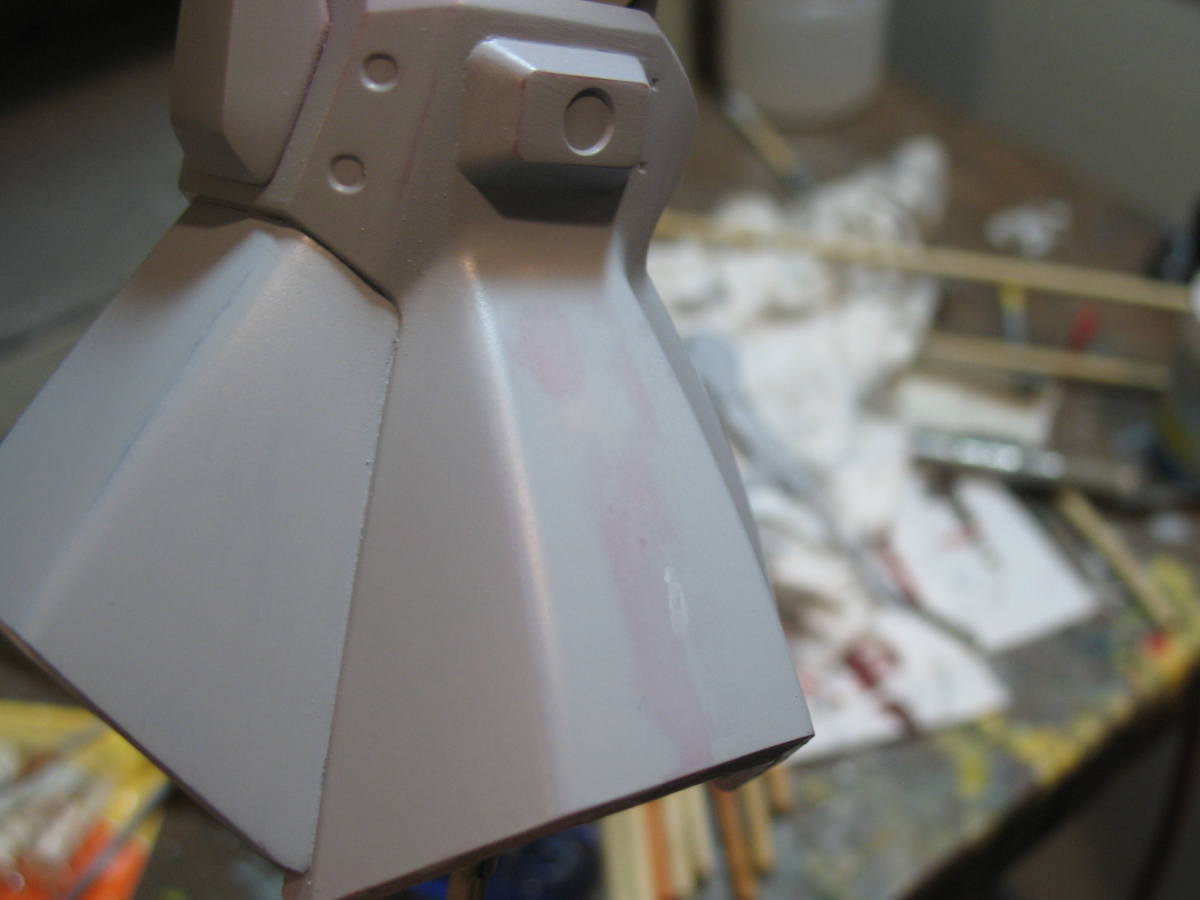
Moving on, I debated whether to just leave the Vulcan Phalanx out of the build entirely. It would be complicated to re-attach it, and opening up the top of the head to deploy the weapon isn’t exactly my favorite look for the Dias anyway. But for now I decided to keep my options open. Finally I got the parts all set up on sticks and got some primer on them. This is where the troubles started. I had sanded almost the entire kit in order to eliminate sink-marks from the molding process. Unfortunately, as it turns out, I left behind loads of sanding scratches. I also got an early taste of the leg seam issue at this point. The seam line seemed pretty minor after all the work I’d done on it, so I decided to attack it with Mr. Surfacer 500. I was actually very impressed with how well it performed in this role.


At this point, it was getting pretty late. About 6 hours until the start of the show. I’d armed myself with some coffee and a good nap in preparation for an all-nighter.

With everything primed, I started painting the brown and light blue parts. Red parts had to be delayed because the leg seam issue still wasn’t resolved. It’s always nice to get the first color coats on parts, it’s the time when a project really starts to come together.


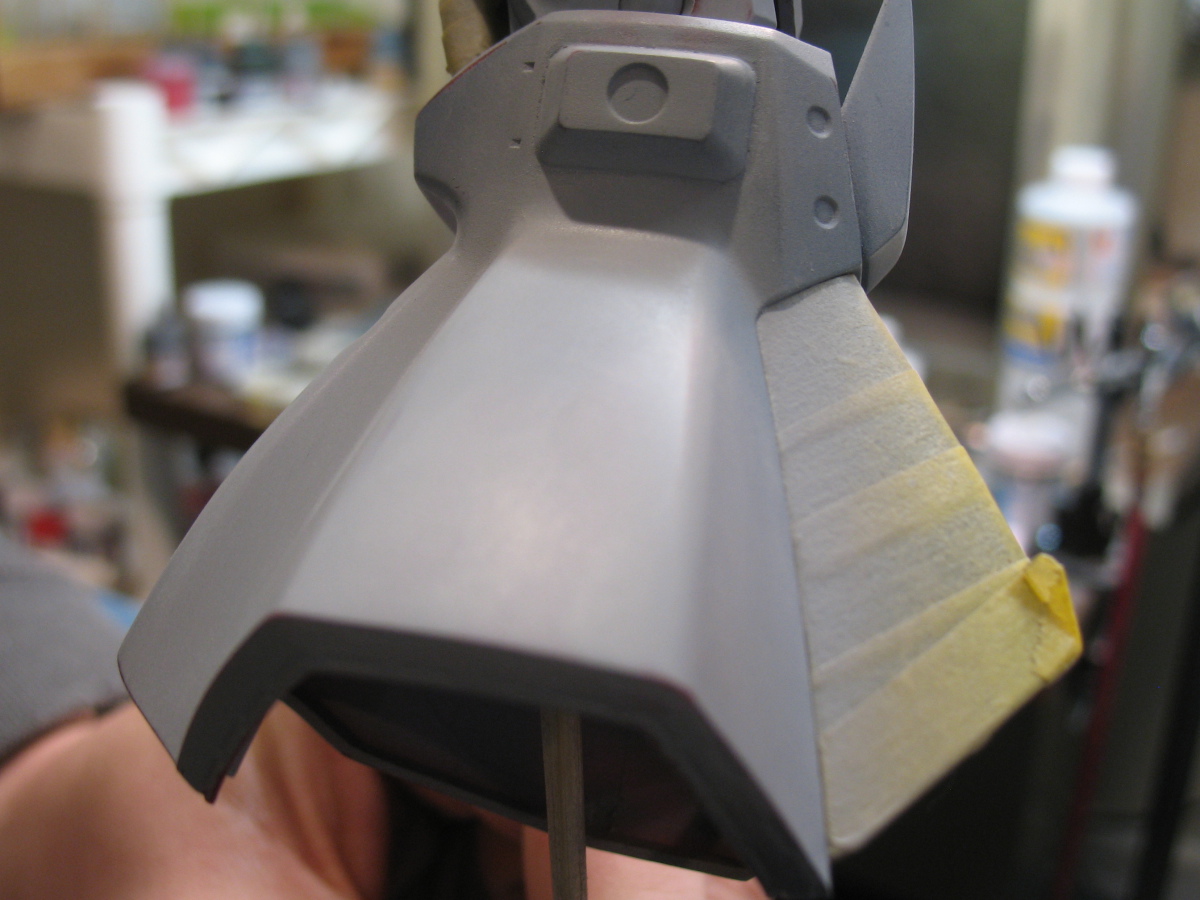
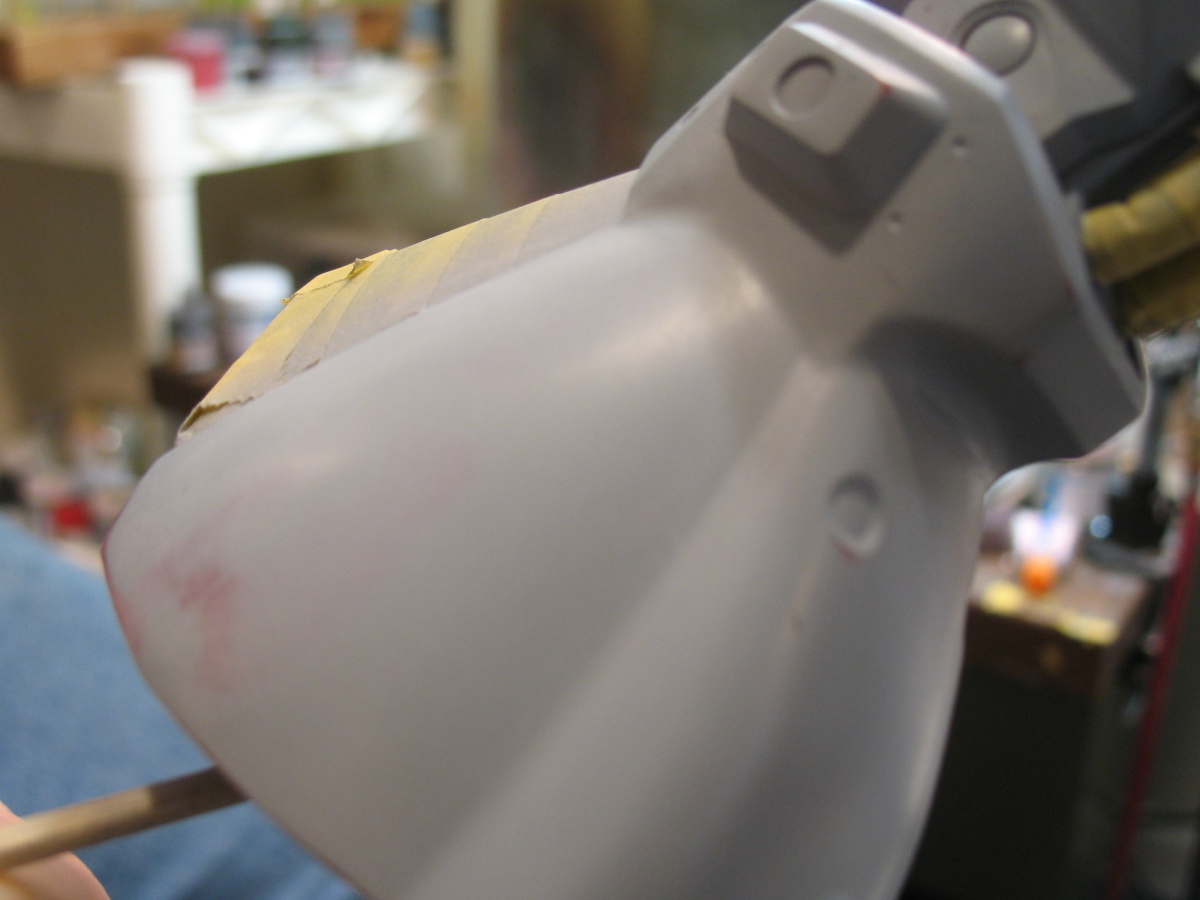
I didn’t keep parts separated by color on this build. Doing so prevents me from cleaning up the join lines between the parts. But keeping everything together means I have to paint it where it is, so after getting some parts painted I had to wait a bit and then mask off the first colors in preparation for painting other colors. Needless to say, as I ground away on this work I chipped away at my remaining time as well:

With the entry deadline for the show now looming, I made a push to finish up the legs, maybe get a rudimentary paint job on the thing and have something to show. But when I primed the legs again, the seam re-appeared. Soon afterward, I gave up and went to Granitecon without a model to show.


Exhausted as I was, it was obviously difficult to enjoy Granitecon. I went anyway. It seemed like there weren’t a lot of models being shown. There were a couple decent Gundam models being shown there, at least, but they wound up getting moved from the regular sci-fi category to the “figures” category – a move that tends to irritate me. I got bored and went to the Comic Store to drool on their nice selection of Gundam kits. I told myself I’d try to get back to the show in time to see them announce the winners, but in the end I didn’t bother.
A week or so later I got back to the Dias again. Now it’s SCGMC that’s looming. Once again I sanded and reprimed the legs. Seemed like they were looking pretty good again.
With everything in order, I finally started painting the red, but the damn leg seams turned up again, and everything ground to a halt.


Clearly it was time for drastic measures. I’m not sure why this kept happening. Could be the join between the leg parts wasn’t strong enough and it was flexing when I handled the parts. Could be that the Mr. Surfacer I used to fill the seam was absorbing thinner and swelling. Could be that there was air inside the seam that was being compressed each time I smoothed the seam, and balooning out again later. I have no idea. But I’d had enough, so I used a hobby knife to grind out all the filler in the seam and open it up a bit, then filled it in again with super glue + talcum.


From there… I spent a ton of time sanding down the seam again, re-filling pinholes that appeared in the SGT filler, etc… repriming the area and sanding it down more as I find more issues. So far there have been no more signs of the seam reappearing. I am hopeful that by gouging and re-filling the seam, and reinforcing it a bit, I’ve resolved the issue. I had considered other alternatives as well, like laminating the outer surface of the leg with thin styrene plate, or using a soldering iron to melt the seam together better and then resurface it. When I look at projects I’ve completed a few years ago, some of them have seams that have since cracked open again. Dealing with this, and reflecting on that has made me think that I need a more durable way of fixing seams.
Post a Comment