Fourth and Fifth Attempts
By tetsujin on 2007-06-09 in Models
Tags: 1:100 Zaku Kai, chest construction
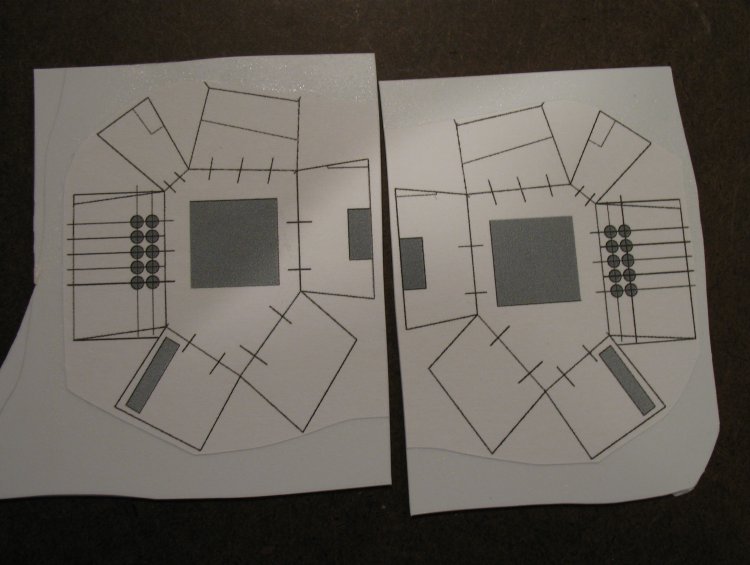
The third version of the chest block part had a few problems: in particular it was prone to warping and it didn’t have the holes on the bottom of the chest block drilled out, or even marked. As a result I decided to remake the chest block part from thicker stock, and drill out the holes before assembling the bottom plate to the rest of the chest block.
I got as far as assembling the left-side part for the fourth version of the chest block before I realized that the Blender mesh I was “unfolding” to produce the part template was crooked in places. To correct the problem, I started over with a new Blender mesh for the fifth version.
Drilling the holes – two rows of five holes, evenly spaced at 3.25mm between centers, proved to be a bit of a challenge. In the early attempts, I tried lining up the drill bit with the template markings on the part itself by eyeballing it, using a straight-edge guide to help the rows come out straighter. That proved difficult: with only .75 mm space between the holes, small errors were too easy to spot. To help make the drilling more precise, I cut a set of guides from styrene strip, to line up the part at the correct point along the drill press’s straight edge. The result was a noticably better set of holes.
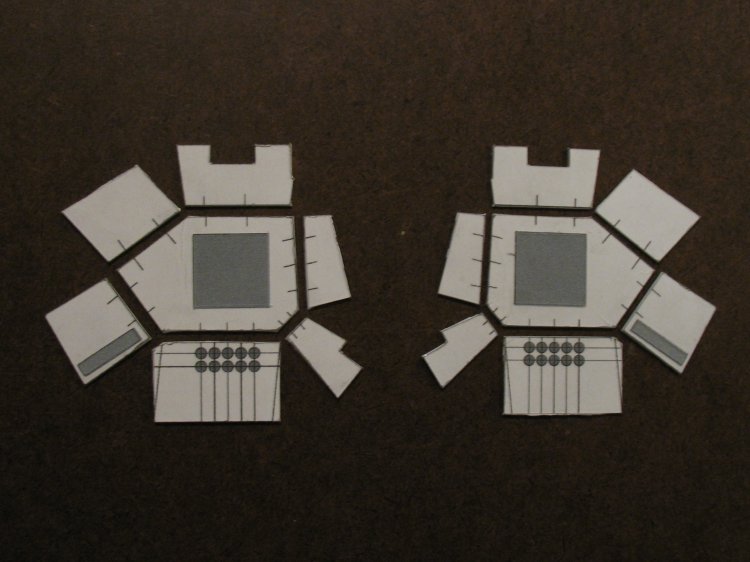
Once the v5 parts were assembled, I used left-over plates that I’d cut out for the v4 parts to reinforce the inside of the v5 parts: 1mm thickness was enough to make a fairly strong part, but I felt that the parts would recast better if they were 2mm thick. The parts are not yet finished but at this point I’m confident that I won’t need to start over again.
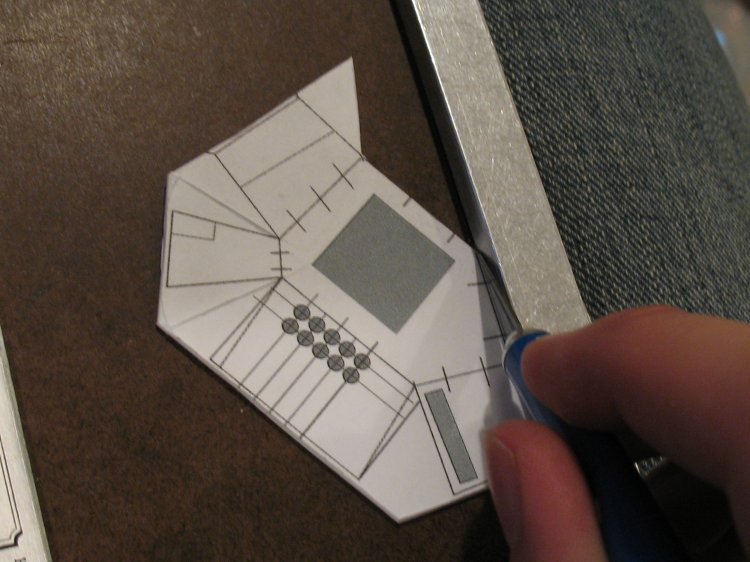
Cutting and assembling the parts:
Drilling Guides:


Chest Parts, Assembled and Reinforced:


Post a Comment