By tetsujin on 2005-07-17 | In Models | No Comments »
Tags: 1:100 Zaku
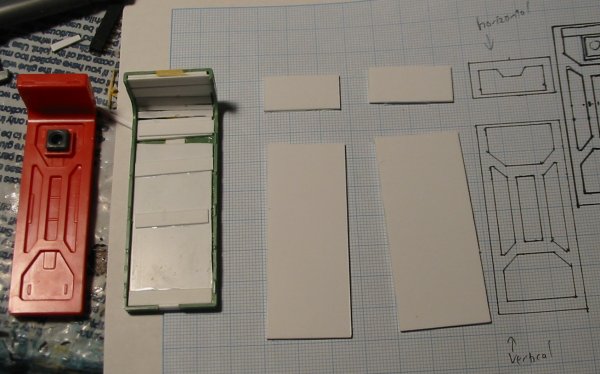
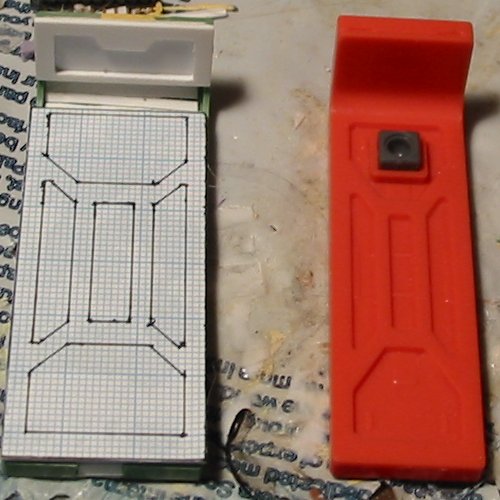
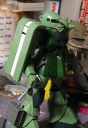
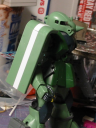
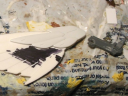
I’ve continued the work on replacing the back-side detail of the shield. This time, I decided to follow a suggestion from “Cecil” on the Gundamofficial forums, and build the outlines of the raised areas with styrene strips, and fill in between with polyester putty. The advantage of this approach are that I can build straight edges more easily than by cutting and filing 1mm plate. The disadvantage is that it becomes harder to follow the pattern and there are the putty steps to be done. I used 1mm x 1mm strip, and glued my pattern to the back of a .3mm plate. Unfortunately (and I can’t figure out why or how this happened) despite trying to follow my pattern, some very strange issues arose, and I wound up playing certain things by ear after correcting the glued strips. I’m hoping it’ll look alright after I clean it up a bit. If not, then I may do this portion of the work over again. While I was applying the poly putty for the shield back I also applied some for the shield front – certain areas needed a bit more filling, especially the bent part of the shield.
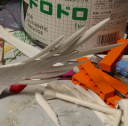
My Doro Doro is in really sad shape. I think the last time I used it before the Zaku project was when I made either the V-fin or the feathers for the Wing Zero – back in February, probably, and the can was apparently never closed up properly. The stuff has little chunks in it now, and it’s not properly thin unless thinned with Mr. Color Thinner. It may be time to get more.


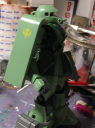
By tetsujin on 2005-07-12 | In Models | No Comments »
Tags: 1:100 Zaku
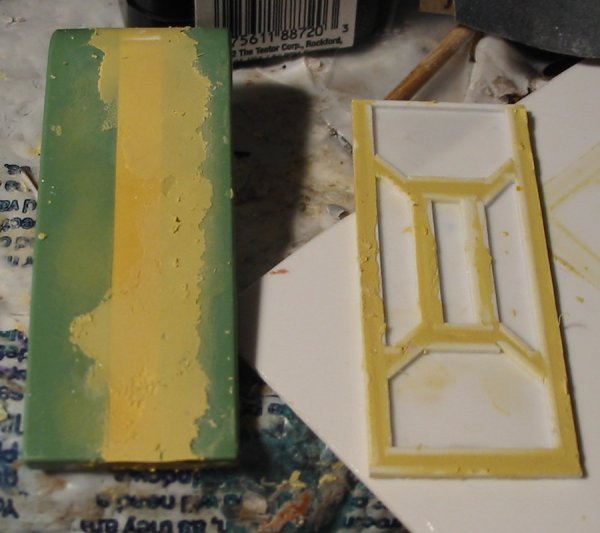
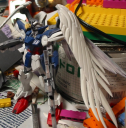
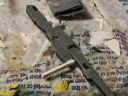
The MG and PG Zaku kits all have very slender shields. The MG Zaku shield is about 82mm long and 22mm wide: about a 4:1 length:width ratio. The 08th MS Team HG Zaku kit, on the other hand, has a shield length of 50mm and a width of 20mm: a 5:2 ratio. It’s not as though the HG kit is infallible, but it’s a pretty wild variation between two kits of the same design. I decided that I preferred the wider-looking shield, as it seemed to have the potential to actually block something. As a result, I’ve widened the shield from its original 22mm to 28mm: the new shield is the same width as the HG shield would be if scaled up to 1:100 scale, and about 8mm longer. I’m still undecided as to whether I want to add the spikes to the shield – one the one hand, they are a nice touch, but on the other hand I feel like that starts to pull the design too far from what a “Zaku” is. I’m not sure yet what I’ll ultimately do.
To widen the shield, I first measured a (more-or-less) center line along the length of the shield, and attempted to cut along it with a razor saw. Then I measured the side walls of the shield (1mm each, so 2mm total) and subtracted that from the final shield width I wanted, and cut a rectangle of styrene that width (26mm) and glued it to the back side of the shield. I re-joined the pieces and filled the gap in this way. I checked my work by measuring and realized that one end of the shield was wider than the other: 28mm at the bottom end and between 28.5mm and 29mm at the top end – so I pulled the parts apart again, trimmed down the styrene plates holding the shield halves together, and reglued it, this time aligning according to measurements. Once I was reasonably happy with the alignment I filled in the remaining gap with more styrene and then polyester putty.
By tetsujin on 2005-06-02 | In Models | Comments Off on Painting
Tags: 1:144 Wing Zero
By tetsujin on 2005-03-09 | In Models | Comments Off on Wing Recasting
Tags: 1:144 Wing Zero
I recast the kit-supplied wings, and then after a long time trying to clean up the feathers on the casts, realized that the originals were crap. So I built new feathers, recast those, and attached them to the cast wings.
By tetsujin on 2003-12-23 | In Models | Comments Off on Wing Zero Project Update
Tags: 1:144 Wing Zero
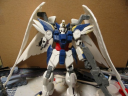
After the my initial return to this project, the model looked like this:
Beam Rifle:The kit includes parts to build the beam rifle as a single, twin beam rifle. The halves can be separated, but building them as two separate rifles requires additional work: so I made some changes.

V-Fin:
I rebuilt the V-Fin completely from scratch. I used a Kotobukiya rectangular nozzle part to make the centerpiece, and built the antennae out of sheet styrene and polyester putty.


Shoulder Armor:
I wanted the shoulder armor to have smoother curves. The kit parts are a little boxy in places.